I decided a week or so ago that I wanted to do a bunch of holiday baking this year. I have never done this in the past, but somehow got it in my head that this year I was going to do it. Even despite the old crappy oven. So I reached out to people for their favorite recipes and chose three to do this weekend.
So this is the first of series of three posts, one for each of the tasty treats I decided to make.
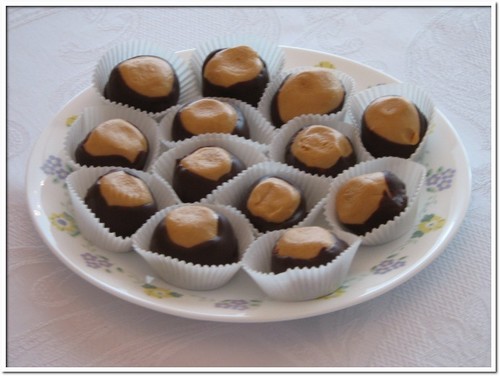
First up is something suggested by an old friend of mine. It has chocolate and peanut butter so I knew I had to make this one. I searched up some recipes and found a great one over at The Way the Cookie Crumbles and adapted it ever so slightly. It seemed easy enough for a novice like myself to make so on Friday afternoon, on a lovely vacation day from work, I headed to the store to get everything I needed and got started.
--------------------------------------------------------------------------------------------------------------
Buckeye Recipe
Ingredients:
1 stick of unsalted butter, softened
1 jar of creamy peanut butter (approximately 18 oz.)
1 tablespoon of vanialla extract
3 cups of powdered sugar
16 ounces of semi-sweet chocolate
Directions:
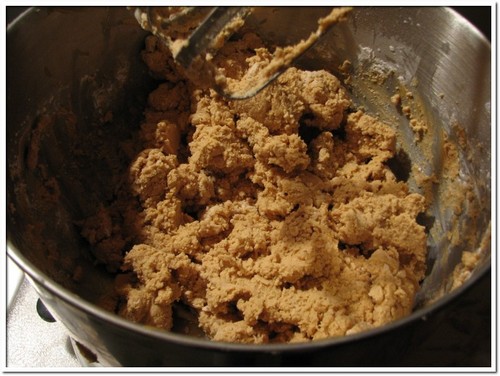
1. In a standing mixer fitted with paddle attachment, beat butter on medium-low speed until creamy. Add peanut butter and continue mixing until fully blended. Blend in vanilla. With the mixer on low speed, gradually add the powdered sugar. Mix on medium-low speed until fully blended. It should have the texture of very thick cookie dough.
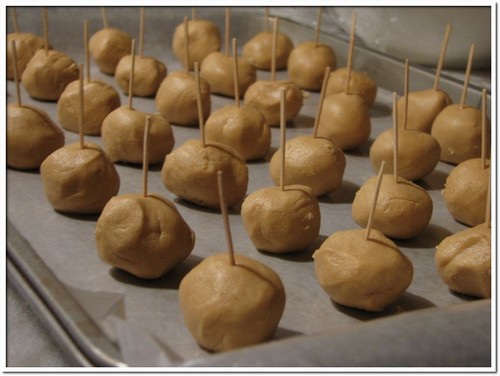
2. Roll the peanut butter mixture into 1-inch balls, and place the balls on a parchment- or wax paper-lined baking sheet. Push a toothpick into each ball. Put the peanut butter balls in the freezer and chill until hard, at least 4 hours.
3. Melt the chocolate in a large heatproof bowl set over a saucepan of almost-simmering water, stirring occasionally, until smooth. Using the toothpick as a handle, dip each peanut butter ball in chocolate, leaving a section of peanut butter uncoated. Place chocolate covered balls on parchment or wax paper and remove the toothpick. Once the peanut butter has softened, you can use a finger to smooth over the hole from the toothpick.
--------------------------------------------------------------------------------------------------------------
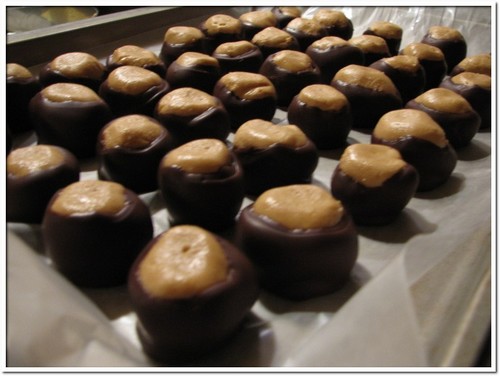
For the semi-sweet chocolate I ended up buying a 24 oz. bag of Nestles morsels and used 2/3 of the bag.
I ended up with extra chocolate but I really think it was the perfect amount because right at the very end it was starting to get difficult to dip and cover the balls.
This recipe should make between 4 and 5 dozen buckeyes, depending on the size. I made just over 4 dozen.
I split them up onto two different baking sheets due to size contraints but this ended up working out really well. I left the second baking sheet in the freezer until I was done coating the second. This worked out well because if they sit out to long the balls will start to soften which makes the dipping difficult/impossible. I also recommend enlisting a friend to help make it go a little faster. But maybe I was just being too picky and going rather slowly. :)
So far my batch has been taste-tested by three different people (one being me, ha) and they all gave two thumbs up.
According to the original site I got the recipe from, Buckeyes can be stored, loosely covered, at room temperature for at least a week.
--------------------------------------------------------------------------------------------------------------
This is part 1 of a three part series on Tasty Holiday Treats.
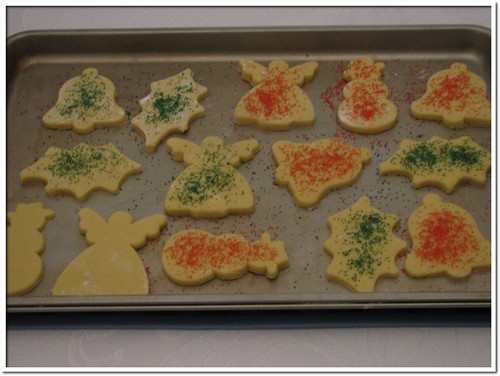
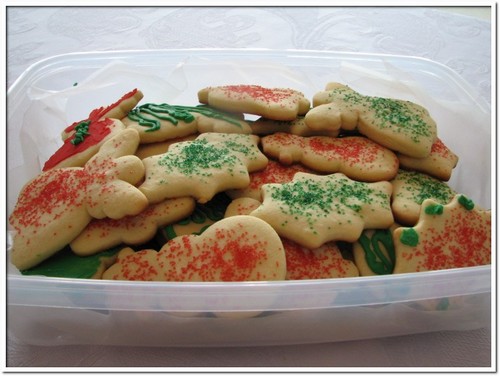
Read part 2: Traditional Sugar Cookies
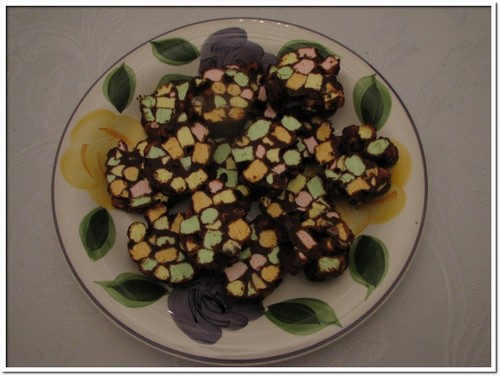
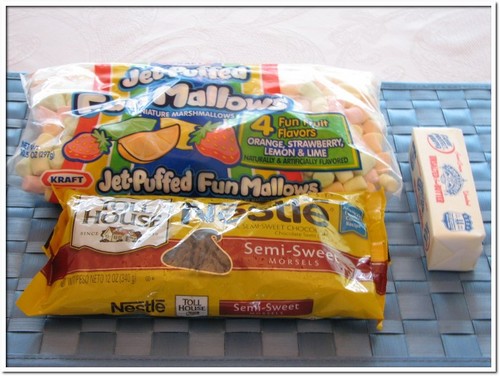
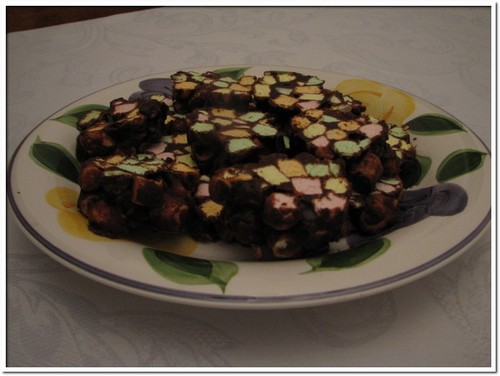
Read part 3: Chocolate and Marshmallow Church Windows
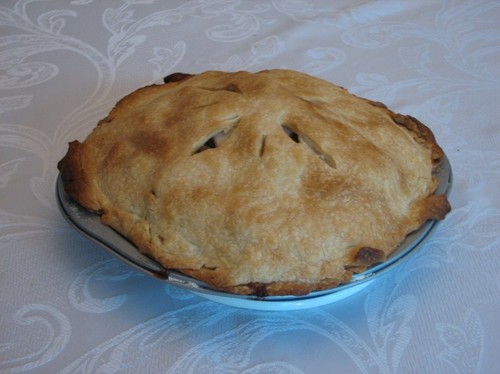
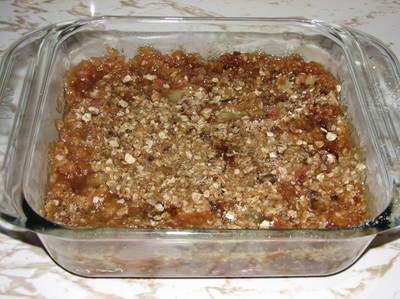
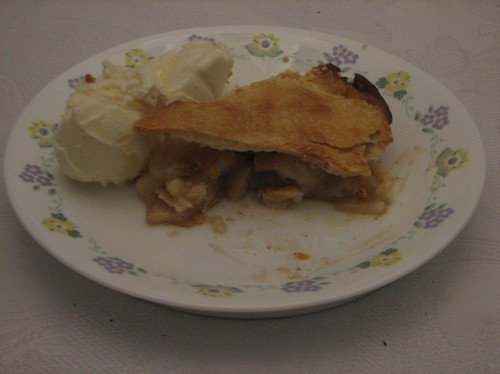 I realize I messed up the crust a bit, and it's not that great to look at, but it really is delicious. I wish I could share a piece with you to prove it. :)